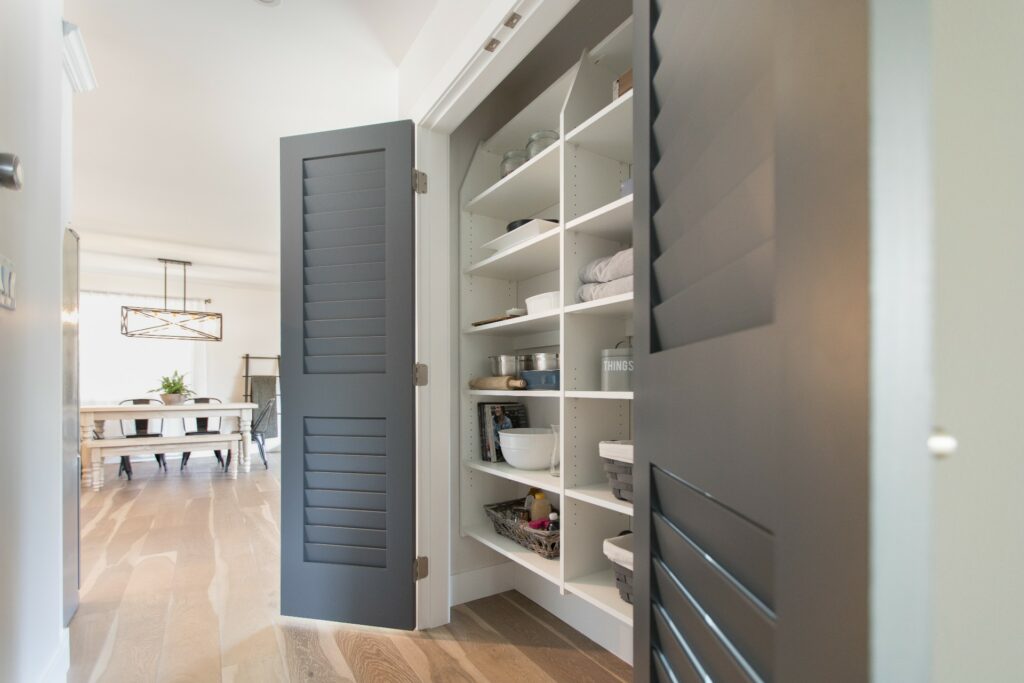
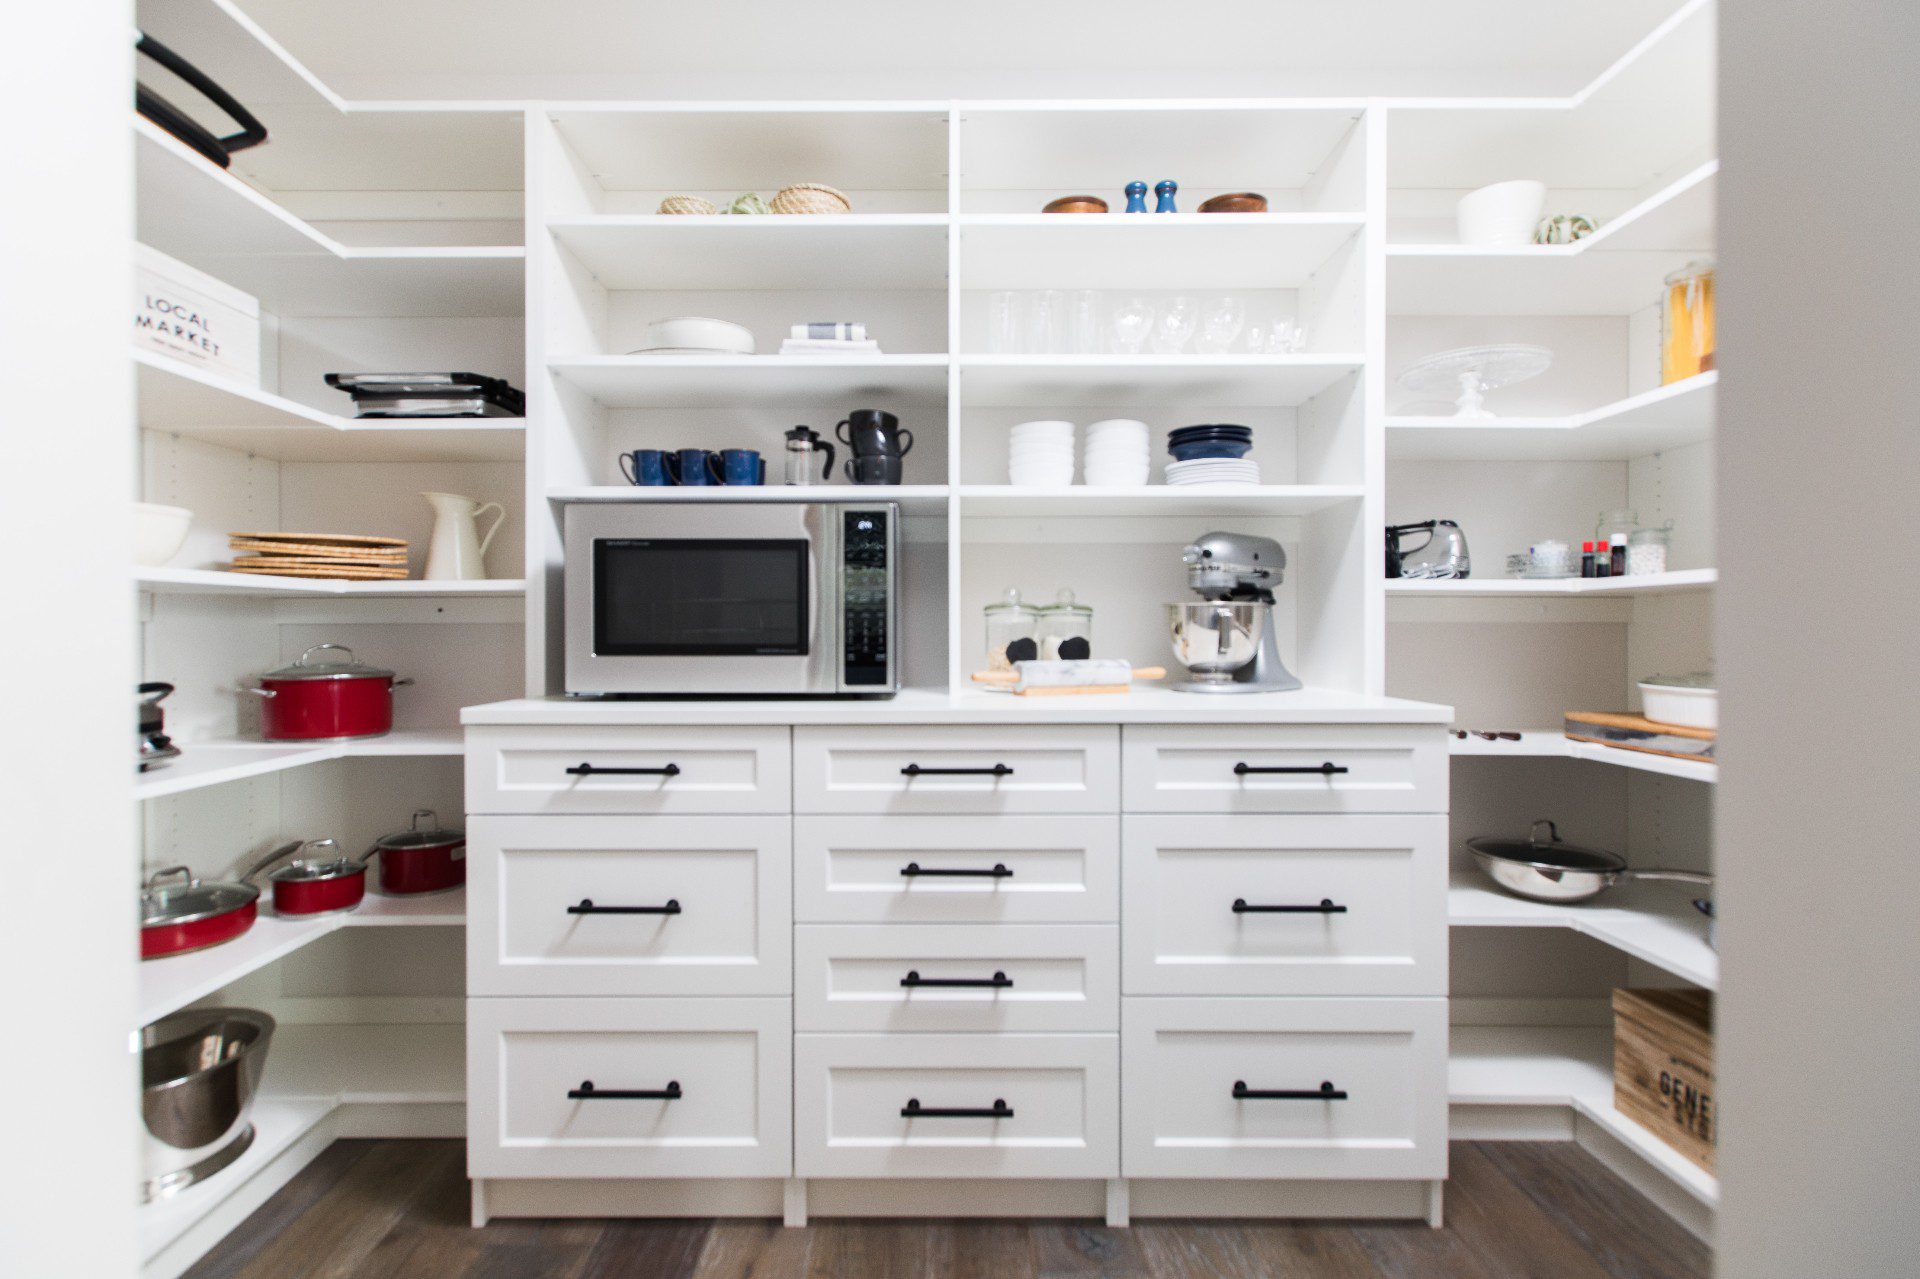
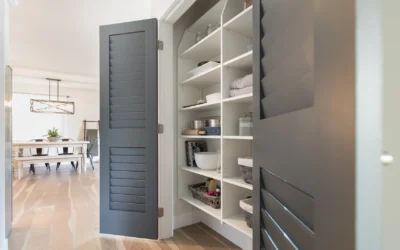
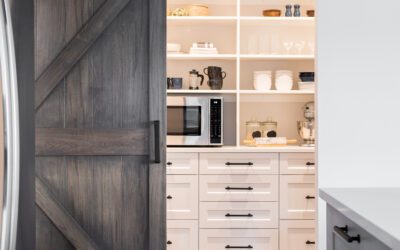
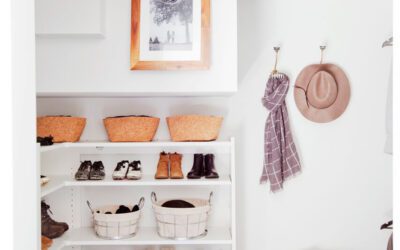
This space – aka “the pantry” – can quickly become a chaotic collection of cans, bags, boxes, containers and other items.
A well-stocked pantry should also be a well-organized one. But for many of us, this isn’t always the case. It’s too easy, as the saying goes, to let things slide. We’re here to tell you that you can take back your space. And while the thought of tackling your pantry may seem like an overwhelming task, when it’s broken down into four steps – the “four P’s” as we like to call them – then it’s not only manageable but makes it easy to keep it organized going forward. Think of it as a win-win for you because you’ll have an organized pantry and less stress too.
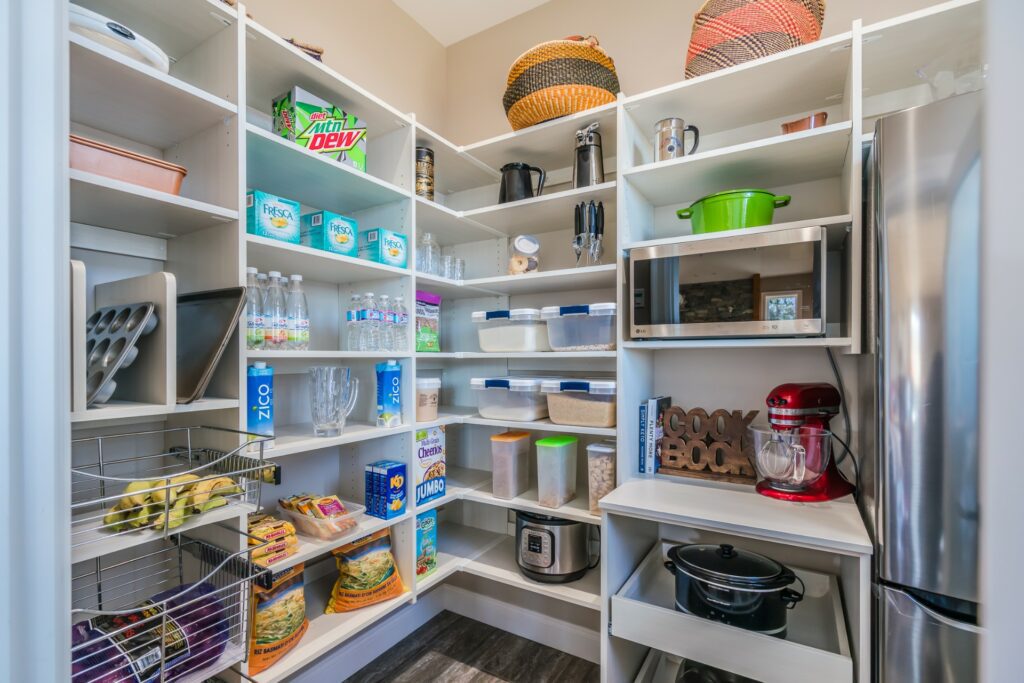
Prep
Start by clearing an area where you can place all the items coming out of the pantry. This could be your kitchen table, your countertop, even the floor (we suggest putting down a blanket first). Make sure your sink is clear in case you need to wash out any containers.
Next set up a station for recycling, garbage and compost. Depending on where you live and what you can recycle, you’ll want to set up the appropriate bins. For example, if you find some old flour in the cupboard, put the flour in the compost and then recycle the bag.
You will also need a broom, dustpan, possibly a vacuum, your favorite household cleaner and some rags.
Purge
Get down to business: pull out absolutely everything from the pantry. You can do this in one of two ways: you can just pull it all out and place it randomly on the space you cleared or you can place everything according to categories, IE canned goods, pastas, cereals, baking, and so on.
Then you need to thoroughly clean out the space you just cleared. This means sweeping, wiping, scrubbing, vacuuming or whatever else you need to do to make the space clean and fresh.
It’s a good to have your recycling and garbage station set up next to the area where all the food is. Start by checking expiration dates and getting rid of anything that seems suspect. Now is also the time to get rid of those items that you bought and you know you aren’t going to eat. If they aren’t expired or opened, you can set them aside to donate to the local Food Bank.
As you sort through all the items, make sure to give all the containers, cans, bags and boxes a good wipe down.
Purchase (Containers, Baskets and Accessories)
If you haven’t already done so, now is the time to categorize items: think canned goods, cereals, grains, baking, spices, snack foods, etc. Then take inventory of which items you want to transfer to containers. Pantry staples such as sugar, flour and flour do well in clear containers where they can remain fresher longer and you can also see when you are running low.
Here are a few of our favourites:
Decide on the containers you would like to purchase. Glass is safe for the environment but plastic containers that are BPA-free work well too. Local retail stores often have a great selection of glass containers as does IKEA. A gold standard amongst all professional organizers for plastic containers are the OXO brand. Once you’ve decided which staples you want in which container, empty them in (or store in original packaging if you prefer). Don’t forget to label the containers, including the date stored along with the best before date.
https://www.oxo.com/categories/cooking-and-baking/food-containers/pop-containers.html
- Take inventory of other smaller items that you can keep together and store them in a basket. This includes baking items, spices, seasonings, snacks and granola bars. Remember to purchase baskets that will fit your space and make sure to label them for easy access.
- Turntables are great additions and give you easy access to bottles. These work nicely for spices and seasonings.
- Risers work well for stacking cans, which allows for easier visibility of goods that might otherwise become buried on a back shelf.
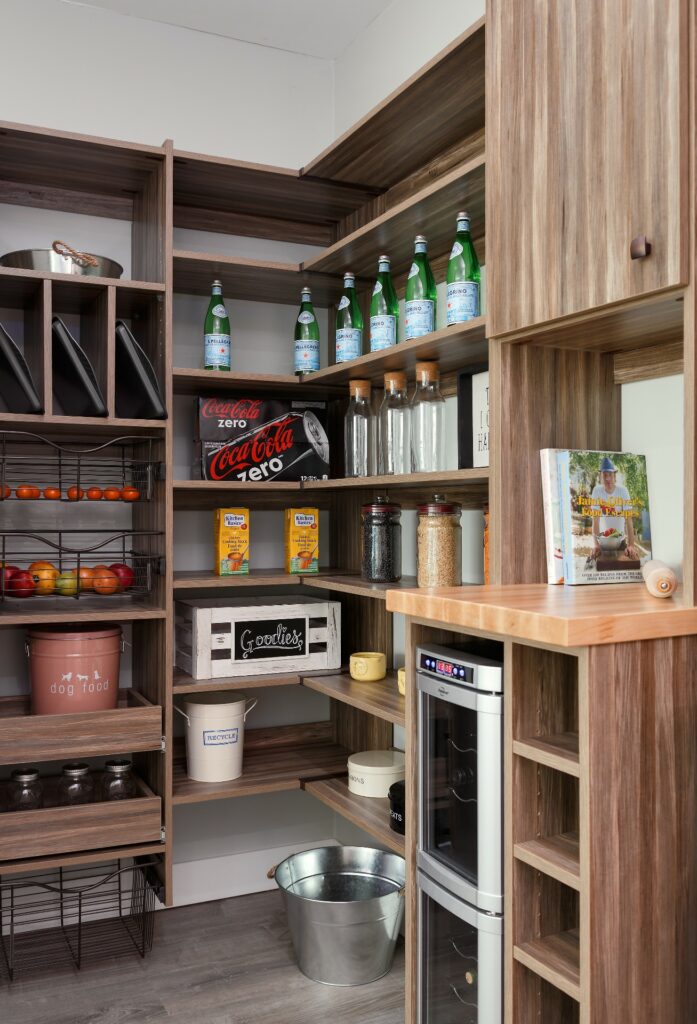
Put Everything Back Together
Even if you’d prefer not purchasing a lot of things to transfer your pantry goods into, we’d still recommend baskets. Keeping categories together so that crackers aren’t mixed in with baking and snacks aren’t mixed in with cereals is the best solution.
Putting everything back into a pantry can sometimes feel like (finally) finding all the pieces to a very large puzzle. There is no cookie cutter approach and sometimes you will have to try different things, adjusting as needed, until you find a system that works for you.
